

Chocolate Makers Starting Points #2
5Things Chocolate Makers Wish Someone Had Told them

Deep Dive
5 - Multiple Temperatures
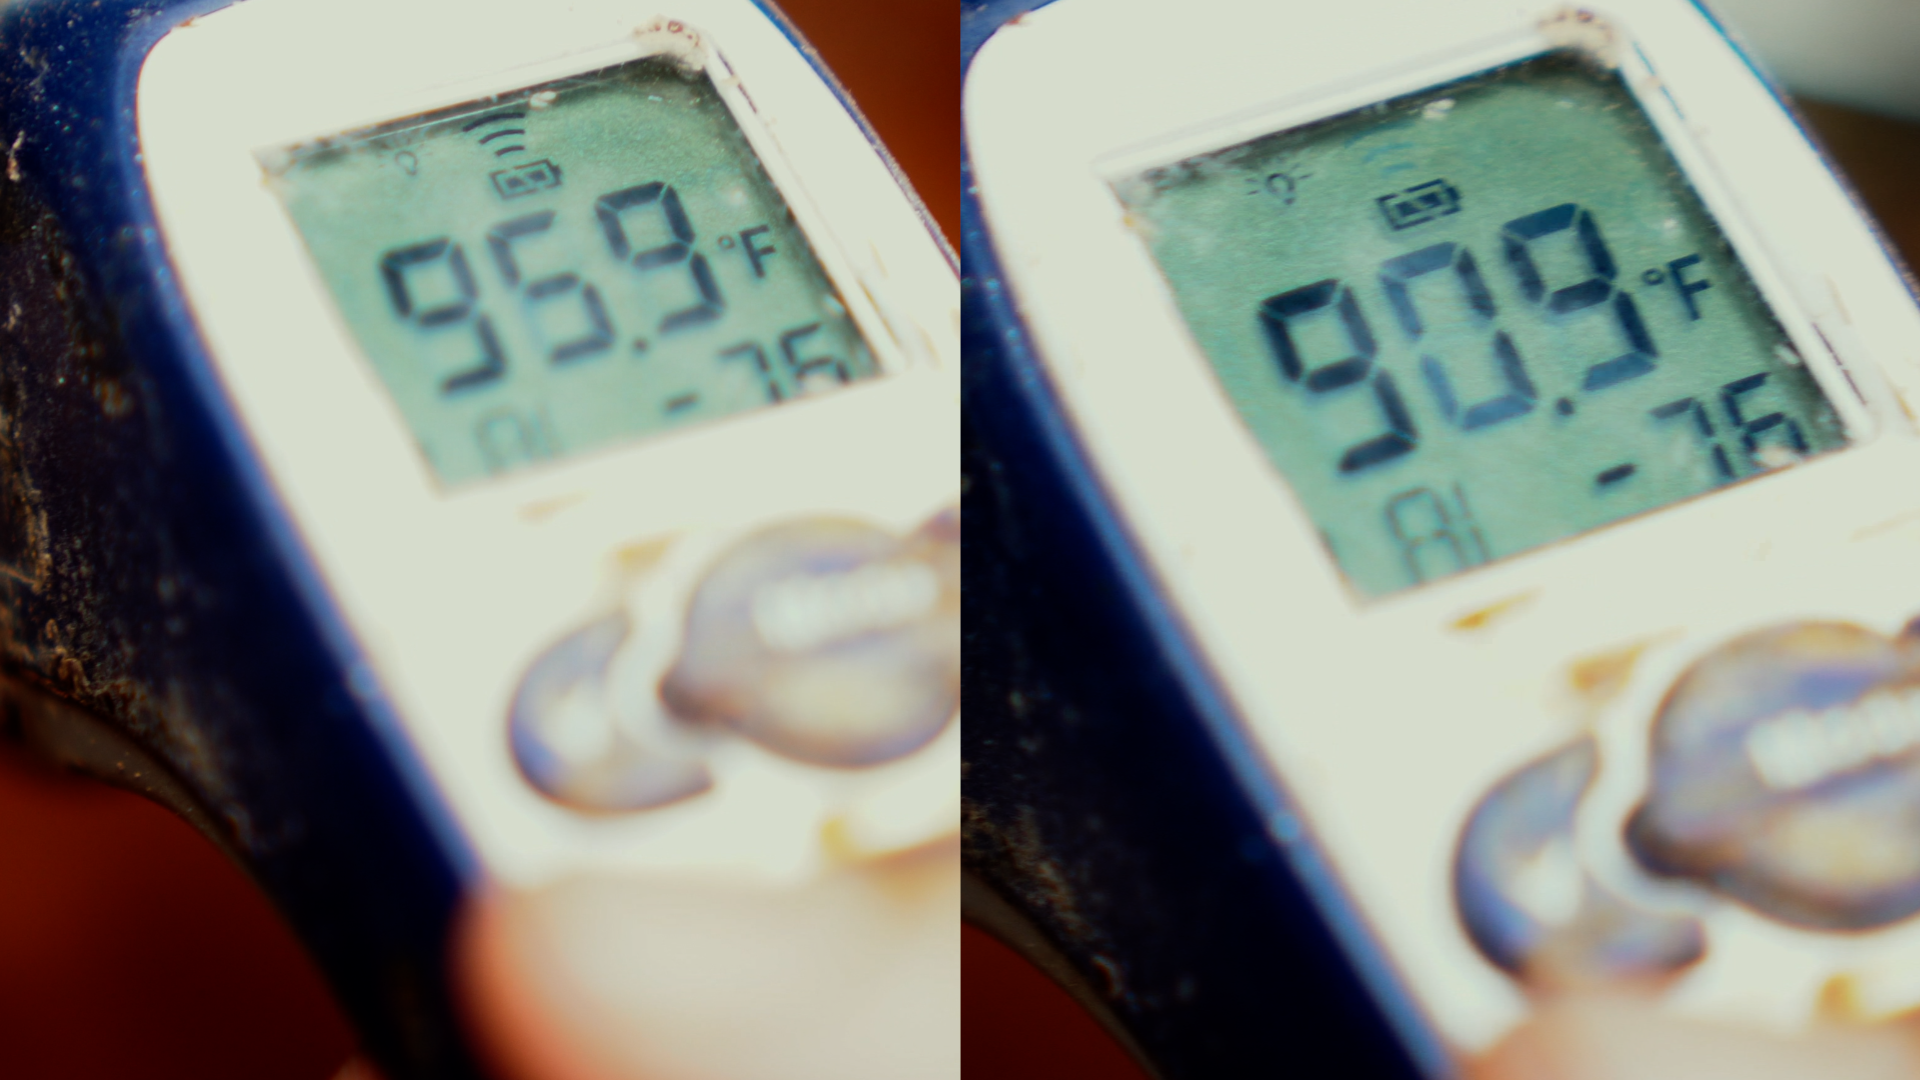
Always make multiple readings when you are taking temperature measurements. It is especially important with IR non-contact thermometers. Since IR thermometers are taking average reading within a circle, it's easy to catch the edge of a container or your spatula accidently. Multiple readings that are different help tip you off to that fact.

4 - Hot spots can ruin everything
This is something to be on the watch for if you are using a microwave. They are notorious for hot spots and can cause little pockets of untempered chocolate even if the top (where you are reading) says everything is in control. Likewise, nesting your bowl of chocolate in hot water will cause the chocolate at the edge of the bowl to be warmer and stirring is so important. Incorporate the warm chocolate from the edges to the center and likewise to make nice homogeneous mixture.

3 - swirls aren’t bloom
I can't tell you how often I get someone writing in because they are 'doing everything right' and their chocolate keeps blooming. The photos I ask for end up showing either subtle patterns on the back of the bar (ruzz, insert photos) or on the front which are just separation marks from the mold. Neither is bloom and neither is a flaw. They happen to professional chocolate makers to varying degrees. Unless you are using a pump depositor (which gives a perfect flow) and a vibratory table (to shake out the back patterns) you are probably going to see slight swirls on the back. And unless you are using extra heavy commercial grade molds with zero flex, you are probably going to see separate marks as the tempered chocolate contract and pulls away from the mold in stages. That is all that pattern is.

2 - roasting affects flavor
If you think about nearly any form of cooking it is obvious that how you cook something. Boiled eggs are different from fried which are different from baked. Seared steak vs boiled beef. Roast chicken vs stewed. Even bread at 400 F for 30 minutes will give something different than 350 for 45 minutes. It should be no surprise at all that the same rules apply to cocoa roasting. Roasting to 250 F in 20 minutes doesn't tell you enough and how you get to 250 will affect the flavor. You can take 12 minutes to 232 F and then 8 minutes to 250 and that will taste noticably different from one where you take 15 minutes to get to 232 F and 5 minutes to 250 F. Likewise, 250 F in 20 minutes will taste different than 250 F in 30 minutes.

1 - infrared thermometers
These are just a blessing. They allow you quick, clean measurements. The respond fast and if take care of items 4 & 5 above, it is really hard to beat them. Their only real drawback is you can't measure water temperature with them. The depend on a solid opaque surface emitting infrared radiation and water doesn't do that well being liquid and clear.
